Greetings and in this video I’m going to show you how to resize your images in Canva in bulk. Now to do this in bulk you need to have a paid Canva account, there is a way you can do this for free, and here’s a link to help you do it.
1 – So first of all we’re going to create a post that we can resize so you can see the whole process.
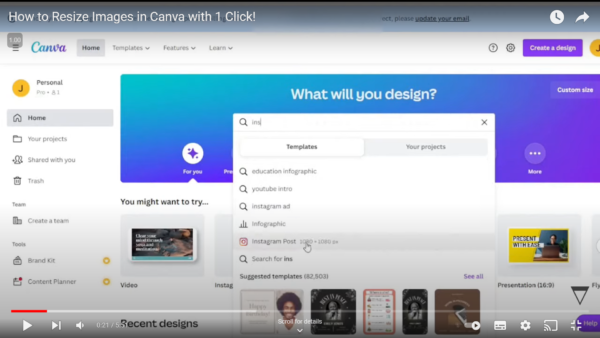
2 – So let’s just create a simple Instagram post.
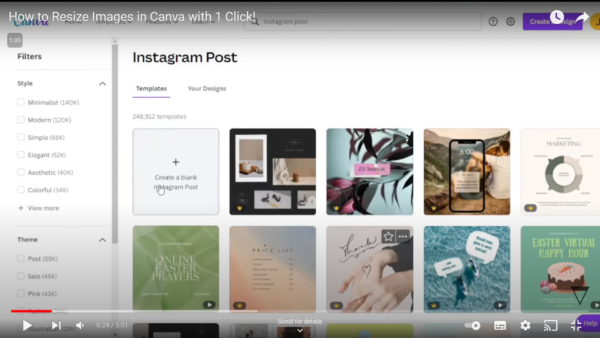
3- There we go so we’ve got four images that are Instagram’s standard size
So you only can do this through a paid account.
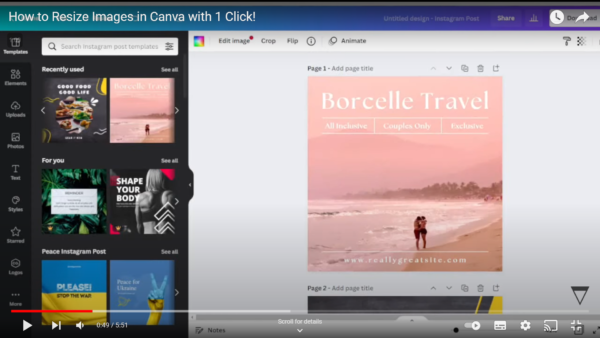
4 – Now goto “resize” & remember to name your page too. I’ve called this page “resize for video”
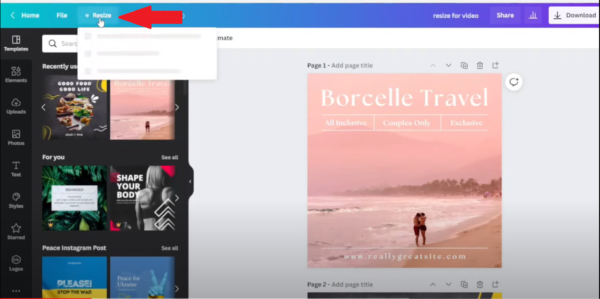
Quick note: If you’re not in a paid Canva account the crown that you see next to the resize button will not be yellow. If the crown is yellow you can do what I am sharing in this tutorial. Click here on how to get a free paid account so you can do this too.
5 – So anyway, click the resize button & a drop-down menu appears. Here you’ve got all the different options of whatever size you want to resize it too.
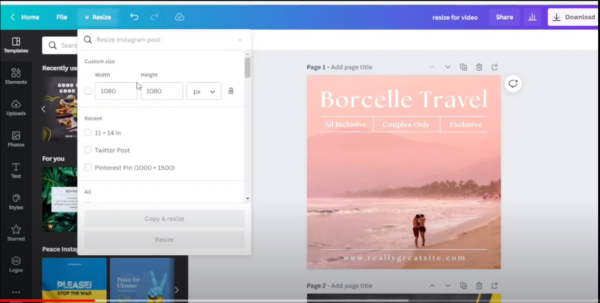
6 – As you go down and hover your mouse over each one it will literally tell you the size, of that medium that you want to resize to.
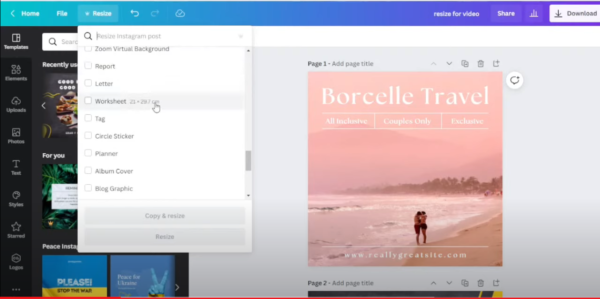
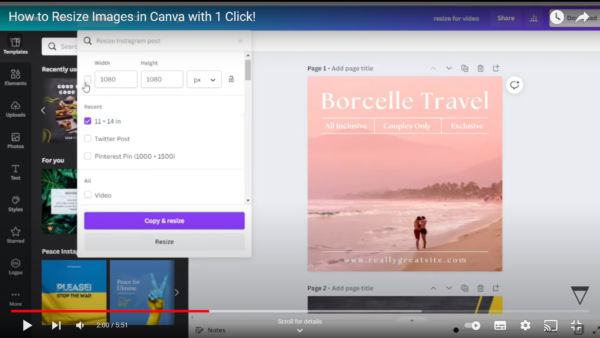
7 – For this case, I resized to size 11 by 14 inches because someone asked for help in doing this. See if you need help reach out to me, I’m here to help you.
If you want to do it manually like you’ve got a size that you want to do it for, it shows you width and height. Plus you’ve got pixels, inches, millimeters, and centimeters so you’ve got a good variety so you don’t have to kind of like get a calculator and figure out how something & try an convert it. So pretty much whatever you want to resize to these four measurements should pretty much work for you.
8 – Now as we come down to here we’ve got a copy and resize or we’ve got resize. Let me explain what each of these does.
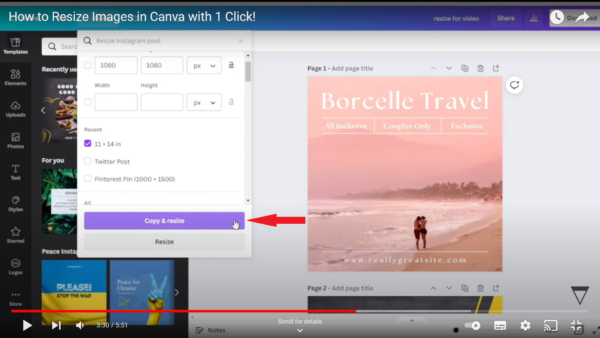
Resize means it will just resize everything in this window. This is fine if that’s what you want to do that’s great, I would recommend is to copy and resize, so what it will do it will copy this page of all your images, and then it will resize.
So ultimately you’ll have two pages one of the original and one of your copy and I think that’s a better way to go forward than just to resize because you might want to come back to your original you know add some more images and then resize it to something completely different and then you will be able to do that.
9 – When you click the copy & resize the MAGIC happens
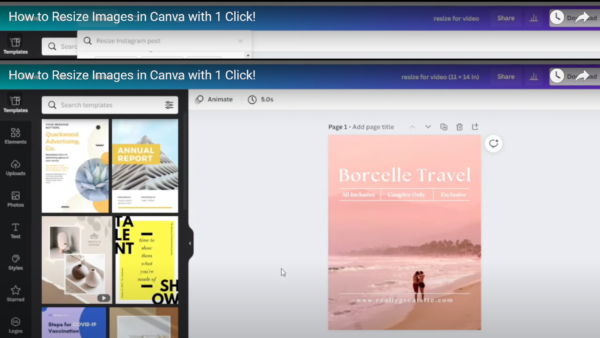
10 – What I would suggest from this point is to rename your title. The copy it makes adds the dimensions in the title. It’s a good idea to keep the dimensions in the title especially if you have resized many images. At a glance from your homepage, it will help you know which content is which.

There you go, resize your images & have fun

